As the leaves change color and the weather gets colder, a new hobby is on the horizon. Crocheting is a great way to make clothes, blankets, stuffed animals, and more. It’s not just for grandmas–anyone can pick up this activity. With a skein of yarn and a little practice, anyone can learn to crochet in their downtime. To start your first project, you will need:
- One skein of medium thickness yarn (it’s the easiest to work with for beginners)
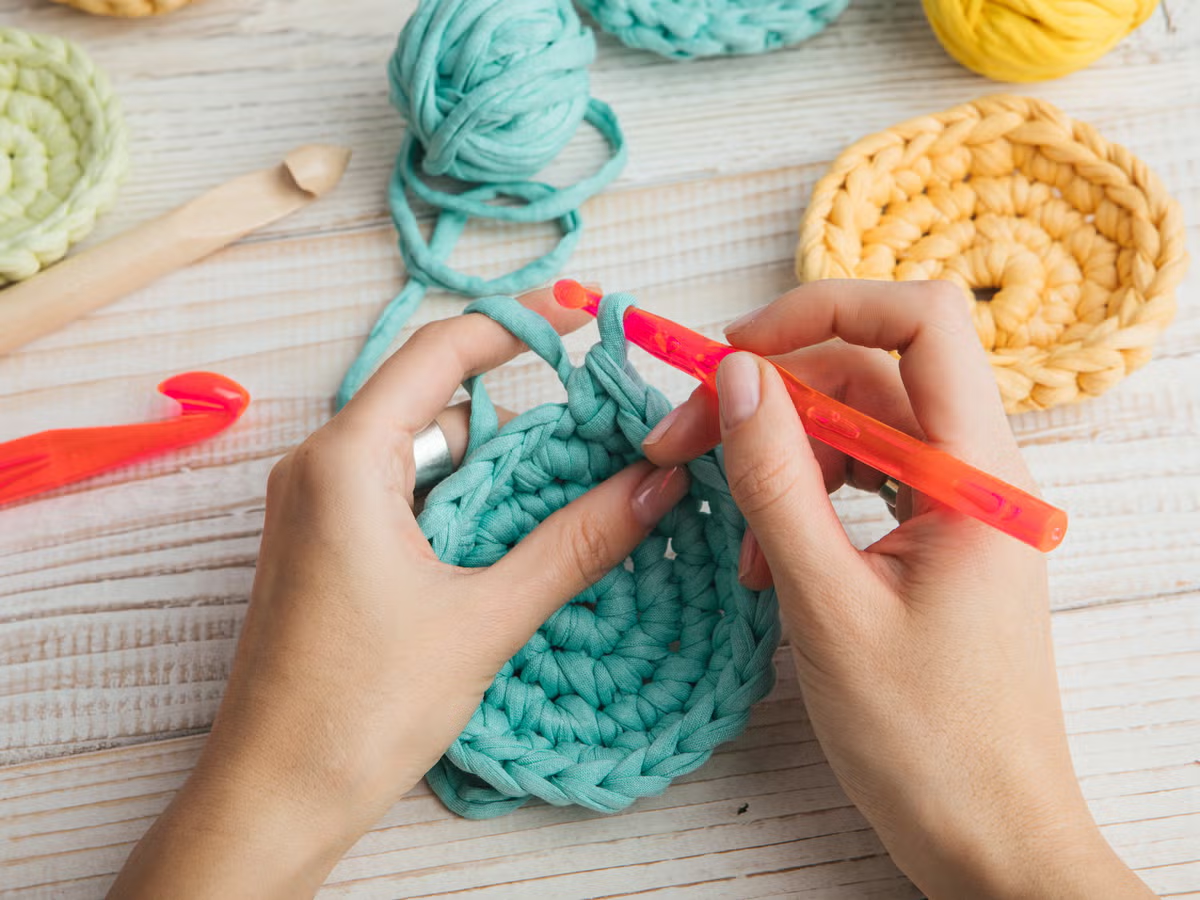
- A 0.4-0.6 mm hook
- Pair of scissors
These materials are easily accessible at craft stores like Michaels or Joann Fabrics, or can be found at Walmart or Dollar Tree.
Step one is to create a slipknot with the yarn. To do this, find the end of the yarn and pull out about a foot length. Drape two inches of yarn over your pointer finger on your non-dominant hand.
Make an “X” with the yarn and hold the loop created with your thumb and index finger. You may want to transfer the end of the loop to your middle finger. The loop should be secure over your finger, with your middle finger and thumb holding it in place.
Take the side of the yarn attached to the skein and drape it over your index finger parallel to the first loop, so it forms a “V” shape. Once the “V” is formed, grab the loop furthest from the edge of your finger and pull it over the loop on the end.
Then, pull on the yarn to tighten the loop. Now you have a slip knot!
Once you have a working slip knot, insert the hook into the knot and tighten it so the yarn is flush against the hook. The hook should be in your dominant hand. To start the first chain, bring the yarn around the back of the hook and then cross it over to the front. It should look like there are two loops on the hook. Bring the end of the hook through the gap of the first and second loops. This should make your first chain. Repeat this step as many times as you want until you feel comfortable making a chain. For this project, chain 15.
Practice chaining 15 and get comfortable with the concept. Chaining is the basis for all crochet stitches, so it is essential to be familiar with it. Now it is time to make a new row. Start by adding one more chain to your 15 stitches. Insert the hook into the chain right before the one you just made (15th chain). Wrap the yarn around the front of the hook so it appears there are three loops of yarn on the hook. Grabbing the yarn you just looped around with your hook, pull it through the first loop. There should be two loops on the hook. Wrap the yarn around the front of the hook again and pull through both loops on the hook. This stitch is called a single crochet. Repeat these steps until you reach the end of your row.
To make another row, chain one stitch, and flip the project around. Then repeat the single crochet process. Continue to crochet and make new rows for as long as you need to feel confident. Finally, to wrap up the project, remove your hook and cut the yarn about two inches from your last loop. This will leave a few inches of yarn to weave into the project. Pull the yarn to close the loop. You can now cut off this excess yarn or use your crochet hook or a needle to sew in the edges. You have now completed your first official project!
Crocheting can be a fun and rewarding experience with its opportunities to weave anything under the sun. The basics of the craft can be turned into intricate patterns and beautiful decorations, or simply kept to make a square. Beginner-friendly projects may include scarves, hats, and even small stuffed animals. However, every crocheter should be familiar with basic stitches, like chaining and single crochet, no matter what they choose to create.